Official Luthiers Forum!
http://www-.luthiersforum.com/forum/

Bridge marking out?
http://www-.luthiersforum.com/forum/viewtopic.php?f=10102&t=6225
Page 1 of 1

Author:  Dave White [ Tue Apr 18, 2006 4:52 am ]
Post subject: 

I'm about to position the bridge on my latest guitar for scribing, clearing the finish and gluing. This one is an FP top and even though the bridge bottom is shaped to the top, the surface is very slippy and it's hard to press down on the bridge without the bridge moving slightly.

I was wondering how you OLF'ers approach this problem. One option is to put some low-tac masking tape on the top in the bridge area, position the bridge on this and scribe through the tape into the surface. I'm slightly worried though as to getting the right pressure for the depth of cut to go through the tape and finish layer but not into the top itself - I imagine that having to go through the tape doesn't give the same "feel".

Also what are your favourite hand held scraping tools - apart from the Dremel that I know some of you use - for removing the finish under the bridge?

Author:  Shane Neifer [ Tue Apr 18, 2006 5:10 am ]
Post subject: 

Dave,

I haven't done it myself but I have a box ready for when I do because I have seen lots of others use them. Razor blades, they are cheap and seem to work well. Here is an example!

Good luck

ShaneShane Neifer38825.59125

Author:  Wade Sylvester [ Tue Apr 18, 2006 5:15 am ]
Post subject: 

Dave,
I put a few layers of masking tape on a square of sheet metal aluminum, then place the bridge on this to scribe the outline. I carefully peel off the outer tape and apply it to the top. I fallow the usual lightly scribed outline of the bridge on the top.
As far as scraping tools, I cut a fresh straight edge blade in half. This gives me 2 tools. This seems enough to take the finish down to the wood.


Wade

Author:  hoosierukes [ Tue Apr 18, 2006 5:30 am ]
Post subject: 

I'm in the razor blade camp. You can turn a hooked edge, like a scraper, and really go to town.

Author:  Josh H [ Tue Apr 18, 2006 5:59 am ]
Post subject: 

Dave

Someone on here mentioned this trick for keeping the bridge from sliding while you position it. Put a small piece of double sided tape under each of the wings. Now press on the tape with your thumb a few times to remove some of the tack. The tape should have enough tack to keep the bridge from moving, but should not damage the finish. Works great on nitro. I'd assume it would be okay on FP.

Josh

Author:  Dave White [ Tue Apr 18, 2006 6:16 am ]
Post subject: 

Thanks so far guys.

Shane - they look like the sort of blades that Desperate Dan would shave with I'll look to see if they are available in the UK ( thinks ... not the type that David Beckham uses ). I use cut down Stanley knife blades that look to be similar.

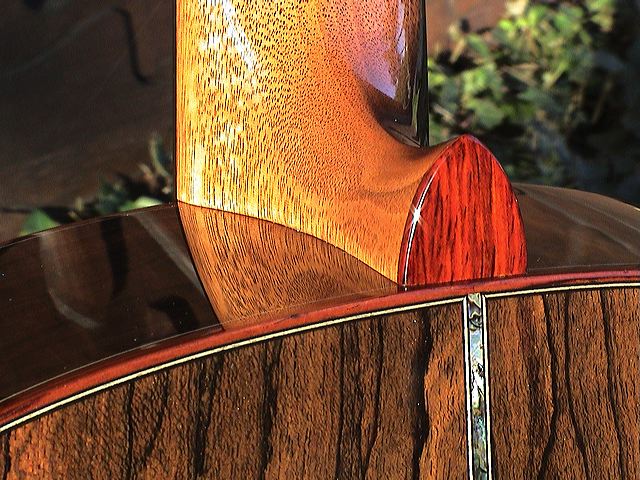
Wade - I'm a bit confused. Do you mark the saddle position on your metal bridge shape and use this to set the bridge position (my bridge already has the saddle slots cut - I don't cut them with the bridge attached)?

Josh - is there enough "give" in the d/s tape to move the bridge on the top for positioning and then push down to grab more fully for marking when in the right position?Dave White38825.6375578704

Author:  Mike Mahar [ Tue Apr 18, 2006 6:36 am ]
Post subject: 

I make jig. Do you have the saddle slot already cut into the bridge? If so you can take a piece of plexiglass that is slightly longer than your scale length and glow a piece of plastc on it so that is slips into the saddle slot. I then clamp the strip of plexi to the neck and the bridge is held in place so I can scribe around it. Actually, I drill a couple of bridge pin holes and slip in some bolts to hold the bridge in place before I scribe. It doesn't move.

Author:  Wade Sylvester [ Tue Apr 18, 2006 6:49 am ]
Post subject: 

Mike, That sounds like a sure fire way.

Dave, sorry, I miss interpriscruted your question.
I don't work well with manuals without pictures and diagrams. It leaves too much for my unruly imagination.


Wade

Author:  Dave White [ Tue Apr 18, 2006 6:59 am ]
Post subject: 

Mike,

I think I have it - I assume you meant "glue" rather than "glow". That's way cool!! The bridge pin bit would be belt and braces, but I forgot to mention I do pinless bridges.

Wade,

No problem I do lots of "miss interpriscrution" as well

Author:  RussellR [ Tue Apr 18, 2006 7:01 am ]
Post subject: 

Dave

You can get the type of blade Shane has in his post from Decorators Merchants, painters use them for scraping off.

Russ

Author:  Josh H [ Tue Apr 18, 2006 7:14 am ]
Post subject: 

Dave

Yes the bridge will move a bit. It depends how sticky your tape is. Once you like the position then press it down firmly and it should stay in place while you scrib around it.

Josh

Author:  Jim Watts [ Tue Apr 18, 2006 12:29 pm ]
Post subject: 

I also laocted the bridge with a jig and use a couple of #40 drill bits as pins through the saddle to hold it in place.
It's worked well for me.
I also use the #40 bits as pins through fret slots to locate the fingerboard to the neck. The number 40 drill are a little biger than a fret slot but not too much and the fret completely cover them.

Author:  Phil Marino [ Tue Apr 18, 2006 1:26 pm ]
Post subject: 

This may be a silly question, but why does everyone finish the guitar, and then glue on the bridge? (Instead of gluing the bridge onto the top first).

It's not common practice to finish the neck without the fingerboard and then glue the fingerboard to the neck, is it? That seems like it would be a (slightly) similar situation.

Phil

Author:  SimonF [ Tue Apr 18, 2006 2:41 pm ]
Post subject: 

Phil,
The sides of the fingerboard need to be finished and many luthiers,
myself included, run the the neck contour into the sides of the fretboard.
There would be no way to get a decent looking neck if you glued the
fingerboard after finishing. You would most certainly end up with a
seam.

The reason for gluing the bridge and attaching the neck after finishing is
simply for convenience. It is far easier to level and buff the finish without
the neck and bridge in the way.

However, I prefer to mask the bridge and fretboard instead of removing
the finish. I would try both ways and then do the one that works best for
you.

SimonF38825.9890740741

Author:  Rod True [ Tue Apr 18, 2006 3:29 pm ]
Post subject: 

Dave, I posted the ds tape thing a while back. Just make sure there's not much tack to the side you're putting on the top. I do this to make sure the bridge doesn't move (as much that is) when drilling the outer bridge pins for locator pins.

What I did on the last two bridge glue-ups was this:

Take a wide (wider that the bridge) piece of painters tape (it's the green stuff on this side of the pond) and put it right on the top, finish and all, now located the bridge, drill the outer bridge pins (doesn't work so well if you use pinless bridges though, those two holes just don't seam to fit ) for locating pins (insert pins) now draw with pencil the outline, remove the bridge and scribe with the exacto blade the outline of the bridge through the tape and the finish.

Now here is the cool part, I'm praising Charlie Hoffman (Bruce has done it a couple times this week already) for this idea, use a semi-past striper to remove the finish from the scribed out area (also for under fretboard extension). Here's Charlie's tutorial. He's full of cool ideas.

Author:  Rod True [ Tue Apr 18, 2006 3:50 pm ]
Post subject: 

To add to Simons post regarding finish with bridge and neck attached.

If at some point, you need to do a neck reset or remove the bridge and have finished the guitar after they were installed, you will have a very nasty clump of finish at the corner of the top-bridge and fretboard to top and heal to body to repair. It can be done, but after it's all said and done, you've spent way more time than you would have if you finished prior to installing neck and bridge.

Also, it just looks better. Here's a picture of my Takamine EN-10 which they glued the neck on prior to finishing.


Nice clump of finish there eh?

Now take a look at a nice clean joint like this one on a Truenorth guitar, looks much better me thinks.


Author:  Pete Licis [ Wed Apr 19, 2006 3:22 am ]
Post subject: 

[QUOTE=SimonF]
However, I prefer to mask the bridge and fretboard instead of removing
the finish.
[/QUOTE]

If you mask, watch out if you wet sand as part of your finishing process! What can happen is that if the masked off portion gets wet, the wood will absorb water, which will seep into and along the fibers under the finished portion and cause them to swell. You can level the finish perfectly, but the next day when the water evaporates and the fibers shrink back to their normal dry state, you end up with a "ripple" in the finish extending 1/8"-1/4" outside the masked area. DAMHIK!

When I refinished my instrument after having the problems with imprinting on KTM-9 (remember that thread?), I didn't mask the second time in order to avoid the above problem. No "rippling" at all the second time. Now all I have to do is spend a few minutes to scrape the bridge/fretoboard footprint clean.

Author:  Michael Dale Payne [ Wed Apr 19, 2006 6:29 am ]
Post subject: 

[QUOTE=Hesh1956] [QUOTE=Phil Marino] This may be a silly question, but why does everyone finish the guitar, and then glue on the bridge? (Instead of gluing the bridge onto the top first).

It's not common practice to finish the neck without the fingerboard and then glue the fingerboard to the neck, is it? That seems like it would be a (slightly) similar situation.

Phil[/QUOTE]

Phil I think that the only thing silly about your question is that no one else has asked this before. I'd like to know the answer as well. Is this practice a legacy from not installing the neck until the guitar is finished? Or what?[/QUOTE]

No question can be silly. Only the answers

But to address this question: most don't want any finish build up in the corners formed by the bridge joint. It is near impossible to keep a clean edge with out build up. Then to boot if solvent gets into the masking tape (assuming you mask) the adhesive will flow into and beyond that build up and give a contaminated finish in a area that is hard to scrape clean. This is not a big issue on a neck and fretboard because all corners are outside corners

My procedure is to use very small piece of double sided tape on the wings tape the boundary then scribe 1/32 inside the boundary. Add another line of tape to the scribe line. use my dremel or Fordom on my Stewmac base and rout just to the wood and just short of the tape then clean up with a razor blade, but I use the stiffer single edge box or laminate knife blades. Rounding the corners then drawing a hook like on a scraper. Total time on this project is maybe 15 min after scribing.
MichaelP38826.6493055556

Author:  CarltonM [ Thu Apr 20, 2006 4:59 am ]
Post subject: 

[QUOTE=Hesh1956] ...the area under the bridge is covered in one easy to remove piece of tape. I did the scraping thing under the bridge on a few guitars and I hated every minute of it.[/QUOTE]
Hesh...Your system is great, but it won't work for French polish. The alcohol melts the tape adhesive, and incorporates it into your finish (you might guess how I know this 
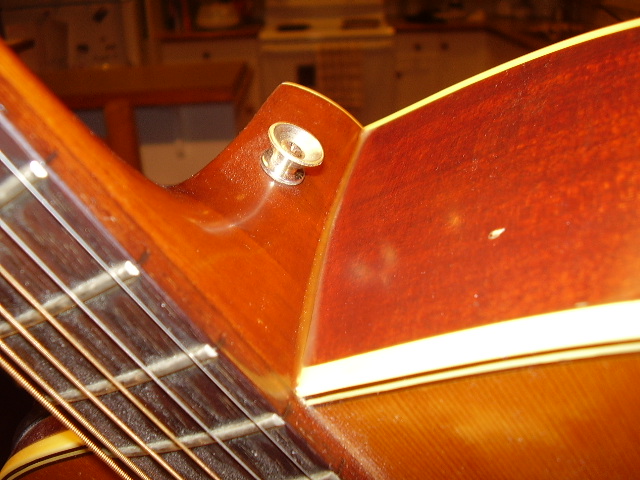
). With FP, you've gotta scrape.

Page 1 of 1 All times are UTC - 5 hours
Powered by phpBB® Forum Software © phpBB Group
http://www.phpbb.com/